
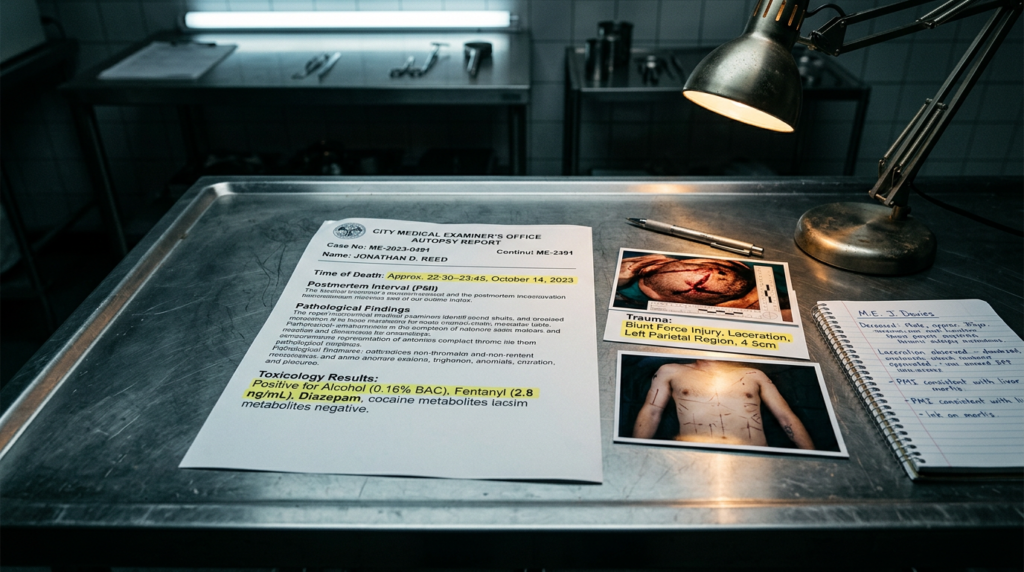
In the hierarchy of evidence, the autopsy report is the foundation. While a Detective tracks the suspects, the Inspector studies the victim’s final moments through the lens of biology. A body doesn’t just show how someone died; it shows the story of the struggle, the proximity of the killer, and the precise window of time where the truth is hidden.
Post-Mortem Analysis is the art of reading the body’s last testimony. To close an elite case, you must learn to look past the tragedy and see the data.
The Trinity of Death: Algor, Livor, and Rigor Mortis
Determining the exact Time of Death (TOD) is the most common way to break an alibi. If a suspect claims they were with the victim until 9:00 PM, but the biology says the victim died at 6:00 PM, the case is effectively solved.
Algor Mortis (The Body Temperature)
The human body cools at a predictable rate (roughly 1.5 degrees Fahrenheit per hour under standard conditions).
- The Investigative Lead: By calculating the difference between the body’s core temperature and the ambient room temperature, an Inspector can work backward to find the hour of death. If the room was unusually cold or hot, the Inspector knows the “cooling” timeline was manipulated.
Livor Mortis (The Settling of Blood)
When the heart stops, gravity takes over. Blood settles in the lowest parts of the body, creating a purple discoloration.
- The Investigative Lead: Livor Mortis “fixes” after about 8 to 12 hours. If an Inspector finds a body with lividity on its back, but the body is currently lying face down, they know the body was moved long after death. This immediately shifts the profile to a killer who returned to the scene or a sophisticated “Organized” offender.
Rigor Mortis (The Stiffening)
The chemical changes in muscles cause the body to stiffen and then relax in a predictable cycle.
- The Investigative Lead: Rigor typically starts in the small muscles (the jaw) and moves to the large ones. If a victim’s jaw is relaxed but their limbs are stiff, the Inspector can pinpoint the death within a 2-to-4-hour window.
Trauma Patterns: The Language of the Wound
The nature of a wound is a direct reflection of the killer’s intent and physical relationship with the victim.
- Defense Wounds: Often found on the palms or forearms. These prove the victim saw the attack coming and fought back. This changes the timeline; it wasn’t a “sneak attack” or a “suicide,” but a struggle.
- Hesitation Marks: Shallow, parallel wounds often seen in self-inflicted cases. A lack of these marks in a “supposed” suicide suggests a staged crime scene.
- Projectile Trajectory: The angle at which a bullet or blade entered the body reveals the relative height and position of the killer. If the entry wound is at a steep downward angle, the killer was likely standing over a seated or kneeling victim, a sign of execution-style “Power” dynamics.
Toxicology: The Invisible Weapon
Not all trauma is visible. Some of the most sophisticated killers use chemistry to do their work. A toxicology report analyzes the blood, vitreous humor (eye fluid), and liver for foreign substances.
What an Inspector looks for:
- The “Chemical Alibi”: High levels of sedatives in a victim’s system suggest they were incapacitated before the primary trauma occurred. This suggests a killer who had access to the victim’s food or drink, someone in the “Inner Circle.”
- Gastric Contents: The state of digestion in the stomach can be cross-referenced with a victim’s “Last Meal” receipt. If a victim ate at a restaurant at 7:00 PM and their food is only 10% digested, they died very shortly after that meal, regardless of what the suspect’s alibi says.
The “Vital Reaction” Check
This is the ultimate test of staging. A “Vital Reaction” is the body’s response to injury while it is still alive (such as bruising or inflammation).
The Audit: If a victim has a massive head wound but no bruising around the edges, the heart was no longer beating when the blow was struck. This proves the “cause of death” was something else entirely, and the head wound was an attempt by the killer to “stage” a different narrative.
The Inspector’s Protocol for Autopsy Review
When you open the Medical Examiner’s report in a Cold Case Inc folder, follow this analytical sequence:
Step 1: The TOD Cross-Check
Take the ME’s estimated Time of Death and overlay it with your Suspect Alibi Map. Look for the “Golden Hour”, the period where the biology of death and the suspect’s “missing hour” overlap.
Step 2: Search for Inconsistencies
Does the trauma match the scene? If there is very little blood at the scene but the victim suffered a major arterial wound, you are looking at a Secondary Crime Scene. The victim was killed elsewhere and “dumped” here.
Step 3: Identify the “Signature” trauma
Is there a wound that served no functional purpose? (e.g., specific post-mortem marking). As we learned in Behavioral Profiling, this is the killer’s psychological signature. Use the ME’s description of this wound to build your offender profile.
Practical Lab: Put It To The Test
The dead can speak, but only to those who know the language. In an elite investigation, the autopsy report isn’t a final document; it’s a roadmap to the killer’s identity.
Your Field Assignment:
Review the Medical Examiner’s report and the crime scene photos in your active case file. Check the TOD estimates against the suspect alibis. Does the lividity match the body’s position? Is there evidence of a “Vital Reaction” in the primary wounds? If not, you’re looking at a staged scene. Find the biological truth.
LAB ASSESSMENT: ARTICLE 14
The body is the ultimate witness. Can you interpret the Post Mortem Indicators?



Leave a Reply
You must be logged in to post a comment.